Gaze Into the Future
Talk about video and inevitably the subject of virtual reality – VR – comes up. Sometimes interchangeably described as 360 video, this exciting new format offers an array of exciting possibilities for both the videographer and the viewer.
But as with any new technology or medium, there’s a steep learning curve involved in the creation of virtual reality videos. How best to plan and organize a VR shoot? What techniques will make the job easier for the videographer and editor? And how can stories best be told using the tools of virtual reality? For that matter what tools will make the creation of a VR video easier?
Let’s examine some techniques, tips, and workflow processes that can aid you in your journey to enter the world of virtual reality video creation and editing.
Consider the Story You’re Trying to Tell
It’s tempting to rely on the medium you’re working in to tell the story. But VR videos need to be planned with the same attention to detail and story as any video – otherwise your work can be nothing more than a novelty.
Think about the story you’re trying to tell. Are you showing off a location? A product? An experience? Virtual reality may be just the ticket to put your viewer inside the story , but the medium can’t carry the story by itself. The story you’re telling will shape the experience you’re looking to provide for your viewer.
So, along those lines think about how you’re going to stage the video. Does the video require voice over to guide the viewer? Are there multiple locations? If so, how will you guide your viewers to where you want them to go? Consider whether it might be worth developing a menu of choices for them, or prompts for them to follow if they’re not following the path you’re looking to lead them down.
Above all, ask yourself one simple question – how will virtual reality tell this story better than a conventional story?
Short? Long? Consider the Length of Your Production
You’ve considered the story you’re trying to tell. Now give some thought to what the proper length for your virtual reality video will be. And to know the right answer for that question, consider the audience you’re developing your virtual reality video for.
Are you planning on creating a virtual reality demo for a trade show? Then keep things short – a good rule of thumb is to keep it at about three minutes. That’ll allow people to experience your presentation while letting them move on in a timely fashion to the next booth. And it’ll let you expose your video to even more people during the course of the day.
If your video is delving into deeper territory, expand the length so that the viewer has more time to explore the world you’ve created for them. For example, if you’re developing a presentation for an executive meeting, you can go into more depth – 10 to 15 minutes is a perfectly appropriate and reasonable length. Likewise, a VR video developed for a home audience or an art installation can explore longer lengths.
Coordinate the Cameras in Your VR Rig
Now that you’ve given due thought to the constraints of your video, consider the nuts and bolts. You know what to do when you’re creating a normal video. Place your camera, check the lighting, compose your shots, capture the sound, and you’ve covered all the bases. But with virtual reality there are some other factors to consider. Understand these and you’ll enjoy a much smoother creation process.
Coordination of the multiple cameras used in many VR rigs is important. Always make sure you’ve chosen the same picture settings for each camera. That’ll avoid problems in aspect ratios, frame rate, color settings, and more. These problems will show up as inconsistencies in the picture in the final product – ruining the seamless effect you’re trying to achieve. And after you start each camera, use a clap or a slate to mark the beginning of the shoot – that makes lining up the footage much easier when you’re stitching together the footage.
Organize Your Footage
For a normal video shoot you’ve got one or two cameras and their footage to work with. With a multi-camera virtual reality setup, you’re going to have footage from half-dozen or more cameras. And with each camera using its own memory card, the possibilities for confusion or (even worse) lost footage is a real possibility.
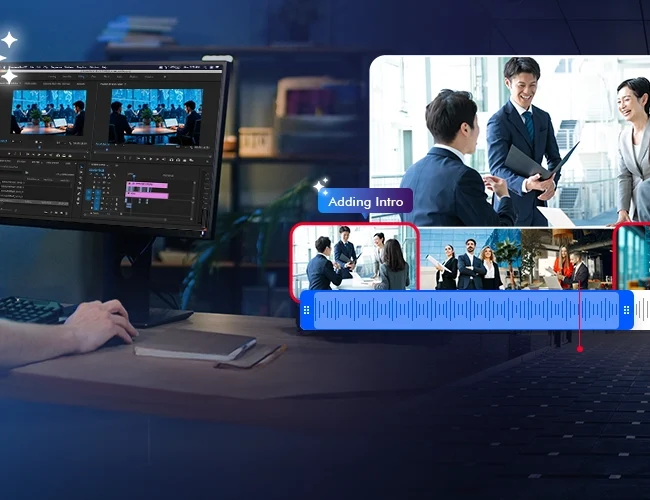
Make storing and organizing your footage after the shoot a first priority. As always, it’s a good idea to have a central repository for your footage files. Mark each memory card as you take it out of the camera and then download the footage from each card into a separate folder, marked as to what camera it came from. Then name each clip, referencing the shot and the camera that took it. When you start the stitching and editing process, copy the files you need from these folders. That way you can always go back and get the unadulterated footage if you need to start over or if you have program crash.
Consider the Future
These are the early days of virtual reality. The gear and tech to create VR videos is evolving almost day by day. Certainly we will experience quantum leaps in what we expect to see in VR and what we, the independent video producer, can create in the world of virtual reality. Both the gear used to create virtual reality videos and the means to view these videos will evolve and change, often in unexpected ways.
So, make your financial decisions regarding VR investments wisely. It’s a smart move to keep your gear investment low as you build your chops as a video producer and editor conversant in the medium. As the technology evolves price points will drop – don’t put all your eggs in one basket when the future holds many possibilities for more inexpensive and versatile recording and editing platforms.
– Video Caddy
Video Caddy