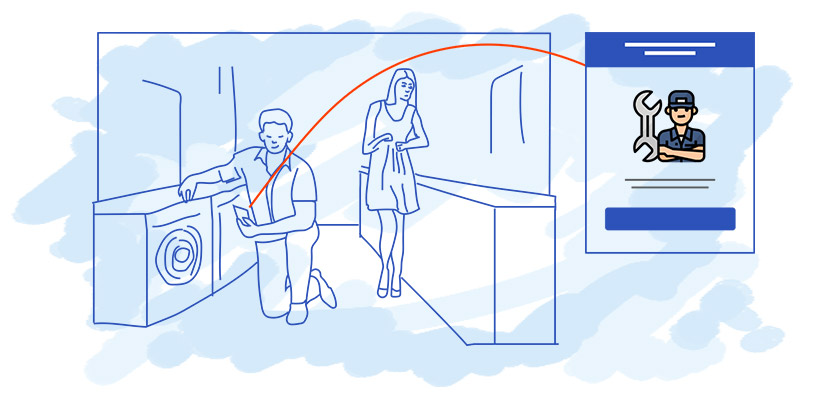
The term “storyboarding” usually makes us think about the creation process for films and videos but the value of storytelling also extends into the product design process. One of the biggest benefits of storyboarding in the product design and development process is that it keeps miscommunication at bay and allows contribution from different departments. It’s probably the most successful and efficient way to completely eliminate the communication problems experienced during product development phases. This post is going to dive deep into this concept and show you how you can make the best use of storyboards during the product design process and why it’s such an amazing tool.
What Is Storyboarding
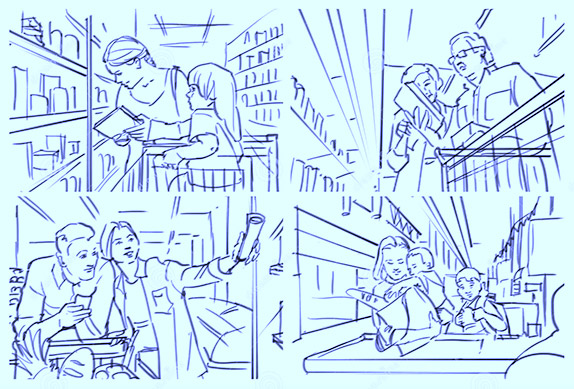
Before we get into the specifics, let’s look at the basic concepts of storyboarding. As we know, storyboards are a collection of points in the story that are mapped out using cells. Each of these cells will contain a title, description, and sometimes even an image. So, in short, storyboards are a simplistic representation of a large concept. Instead of using them to project an overall plot, we use them to transform the large product concept into its most important points.
The Role of Storyboarding in Typical Product Design Process
Before even product development, product conceptualization and design are the stages which involves lots of brainstorming and exchange of feedbacks or inputs from various stakeholders. This is the stage of product design where storyboards act as a highly presentable medium that can include both the creative side and technical detailing to finally narrow on the best design.
1. Creating Personas
The first stage of the product design process is to define the target audience. The two types of personas that storyboarding will help create – user personas and buyer personas. They are not always the same so let’s take a look at both.
User personas are depictions of the individuals who fit into a specific category. These are the people whose problem will be addressed by the product. While storyboarding, you should try limiting user personas to no more than three characters to avoid overlapping of information.
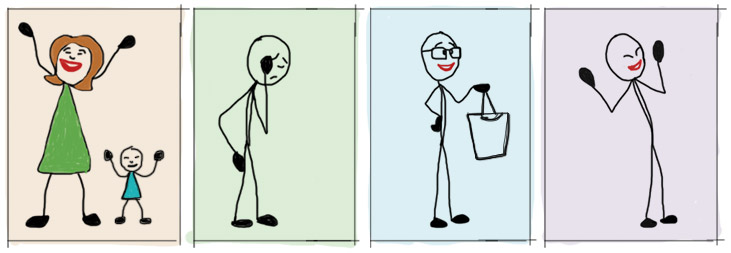
Buyer personas usually match the user personas but that is not always the case. One example would be infant products. Although that’s a very basic example, it just shows that buyers are not always going to be the ones using the product. Here, just ask yourself the question of whether or not your users are also going to be the ones buying the product.
Personas help you step inside the shoes of your potential market and take extra care to their needs when developing a new product. Just create a fictional character with the same traits as your users and/or buyers so that other departments can also add to it from their perspectives.
2. Highlight Pain Points of Your Users
Once you have created the personas, it’s time to create even more detailed storyboards by highlighting the pain points of these users. In this stage, we want to define all of the problems faced by these unique individuals.
Let’s look at this in a bit more detail. First of all, there are three types of pain points that people experience.
- Financial pain points.
- Convenience and/or productivity pain points.
- Bottlenecks in the buyer’s journey.
You’ll want to venture through all of these categories and outline every pain point that the persona you created experiences. For instance, low income households probably struggle with the cost of products. Small business owners probably struggle with the quality and cost of products. Elders struggle with the buyer’s journey. These are all potential pain points.
3. Highlight the Features of Your Product
Now we’re going to move onto highlighting the product features on your storyboard. The first step is to obviously list all of the features associated with the product. Then take that list and narrow it down based on the personas and pain points created in the previous steps. However, listing features is the easy part but we want to take it to the next level to get the most out of storyboarding.
Take each feature and write a brief description of it. These are going to describe the benefits of each feature, an essential part of marketing and development of a product. Try to use this step to transform brainstorming into functional, realistic benefits that your finished product should offer.
Finally, each feature should connect with specific emotions so try labeling each one with an emotional response.
4. Connect the Benefits to the Persona’s Pain Points
Make the connection between each benefit and the pain points exhibited by your personas. Emotions play a huge role in how popular a product will become so it’s important to take them into consideration during development.
This isn’t black and white, but you will need to understand these tangible benefits during the development of products. In your storyboard, you will walk through each pain point and connect a product benefit with each of them.
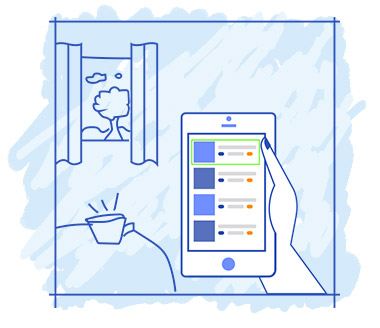
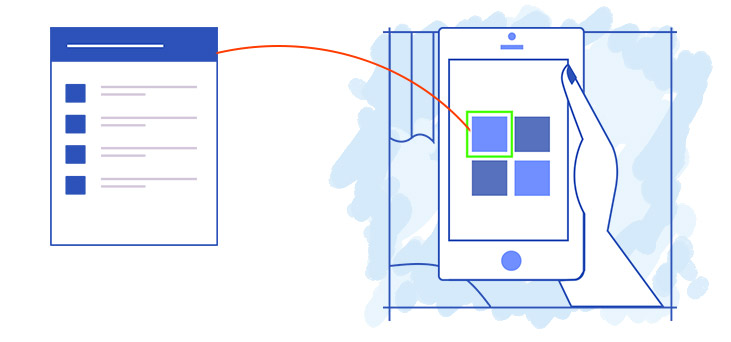
5. Map Out the Customer Journey
Now that all of the pieces are in place, you will need to use your storyboard to visualize the customer journey. Make sure you consider all touch points that will have with the product as they use it to achieve their goals. Preferably, you will do this for each pain point and benefit you’ve listed.
There are six essential elements of storyboarding the customer journey. They are as follows:
- List the experienced problem.
- How will the persona go about searching for a solution?
- How will that search lead them to discover your product?
- List the way in which the persona will use the product to solve their problem.
- How does the product solve the problem?
- What benefits will the persona get by using your product?
By this point, we have gone through the entire storyboard creation process so you should have all of the elements needed to walk through its development.
Benefits of Storyboards for Product Development
Let’s look at some of the amazing benefits of product design storyboarding and how it will help in the development of your products.
- Provides an easy and inexpensive way to test multiple features and designs.
- Have the entire customer journey mapped out ahead of time for marketing.
- UX storyboarding for product design details every step, providing efficiency.
- Use storyboards to showcase products during stakeholder presentations.
- Storyboards are an amazing tool for brainstorming new product features.
UX Storyboarding for Product Design Best Practices
To make the best use of storyboards in the product design brainstorming process by making different viewpoints, elaborating the features, and bifurcation of results – all can contribute for a desired product if you follow some time-tested best practices.
- Storyboards should be focused on personas rather than the product itself.
- Limit each sequence of the storyboard to no more than 3 screens.
- Context should chance over the course of the storyboard, much like a plot.
- Storyboard templates should be saved and used to streamline the process.
- Pain points should be clearly outlined in the storyboard.
- Consumer interactions in regard to pain points must be detailed.
- Product design storyboarding should detail the customer journey.

Video Caddy Can Help Create Detailed Storyboards to Push Your Product Design Process
You can conceptualize the product, its usage, features, and more through storyboards, but you can make the process much easier by letting Video Caddy’s team of experts do the visualization and storyboarding for you. As part of our animation and storyboarding service, we can work in parallel to your product design team, take the raw inputs and create interactive storyboards for each stage of the design process. Contact us to get started or let our team of experts walk you through every step.
-Videocaddy
Video Caddy

